Step-by-Step Guide to Sell Your Home in Cedarburg WI
February 19, 2026
February 19, 2026
Thinking about listing your home in Cedarburg? You’re competing for attention from Milwaukee North Shore buyers who love historic charm, a walkable downtown, and polished presentation. The good news: a focused prep plan can help you stand out without overspending. In this guide, you’ll learn the exact steps to refresh, stage, photograph, and market your home so it shines online and in person. Let’s dive in.
Cedarburg attracts buyers who value character, neighborhood amenities, and proximity to shops, trails, and schools. Many discover homes online first, then decide what to tour based on photos and digital details. The better your home shows on screen, the more visits you earn. According to national research, most buyers start online and engage more with listings that present clearly and completely, which includes quality photos and helpful media like floorplans and tours. You can see these trends in the National Association of REALTORS field guide on quick statistics.
For Cedarburg specifically, highlighting nearby amenities such as Washington Avenue shopping, seasonal festivals, and access to the Interurban Trail can add context and appeal to your listing. If your property is near downtown, spotlight those lifestyle details in your description and photo set. Travelers and locals alike recognize Cedarburg’s destination main street and historic setting, which is noted in coverage of the town’s shopping and events at Midwest Weekends.
Cedarburg historic note: If your home is in or near the downtown historic district, contact the City or the Historic Preservation Commission before visible exterior work. Review the Wisconsin Historical Society’s guidance on Certificates of Appropriateness for exterior changes.
Start with quick, low-cost wins. Clear counters, thin out closets, and put away personal photos so buyers can focus on your spaces. Remove extra furniture to open sightlines and improve flow in photos and showings.
Do a deep clean and tackle easy fixes. Replace burned-out bulbs, repair leaky faucets, lubricate squeaky hinges, patch small wall dings, and clean windows inside and out. Fresh, streak-free glass boosts natural light and makes photos pop. A professional carpet clean or quick hardwood refresh can also lift the whole look.
Create a simple checklist. Walk each room, note repairs by priority, and set a short weekend schedule to finish them. You’ll save time and stress once showings begin.
Paint is high impact at a modest cost. Fresh, neutral interior paint helps rooms feel brighter and more current. Aim for a consistent palette so your photos read calm and cohesive.
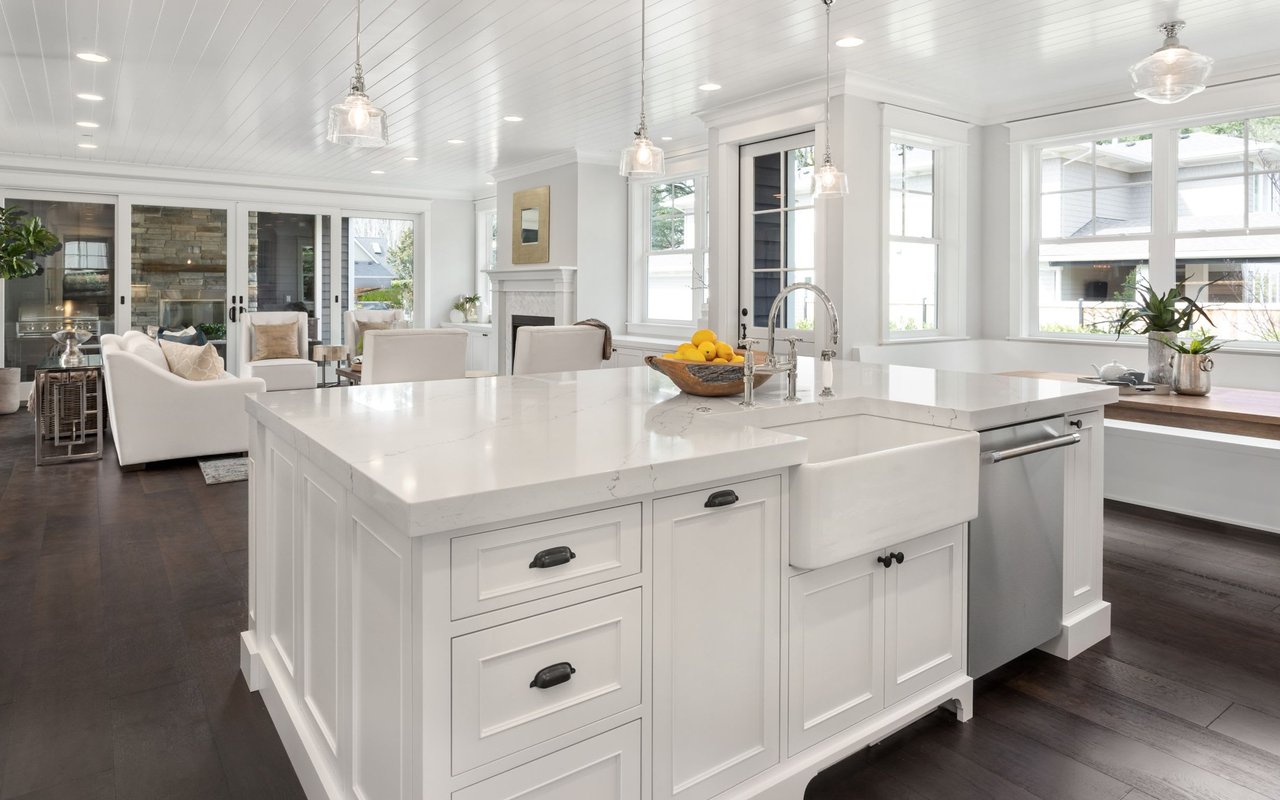
Refresh kitchens and baths without a full remodel. Consider new cabinet hardware, a modern faucet, updated lighting, or a simple countertop resurface. Industry Cost vs. Value reporting consistently shows that targeted, minor projects can return a large share of cost at resale. Review summary insights on high-ROI light updates and avoid over-improving beyond neighborhood norms.
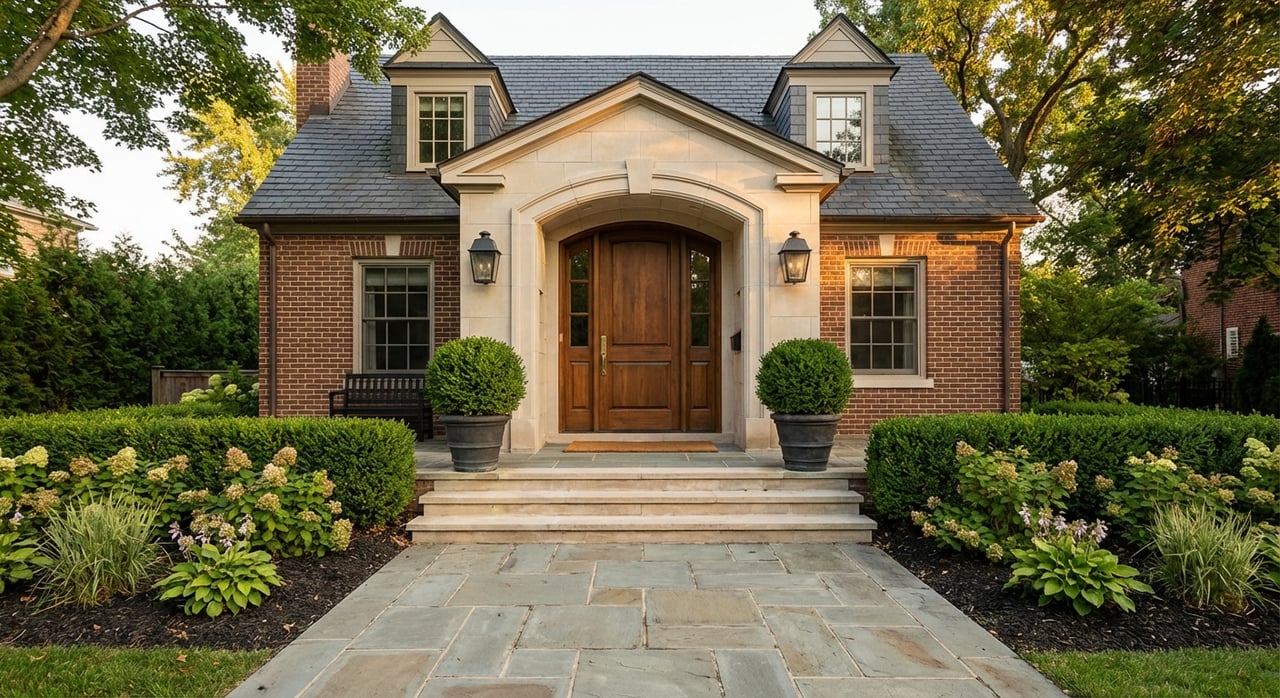
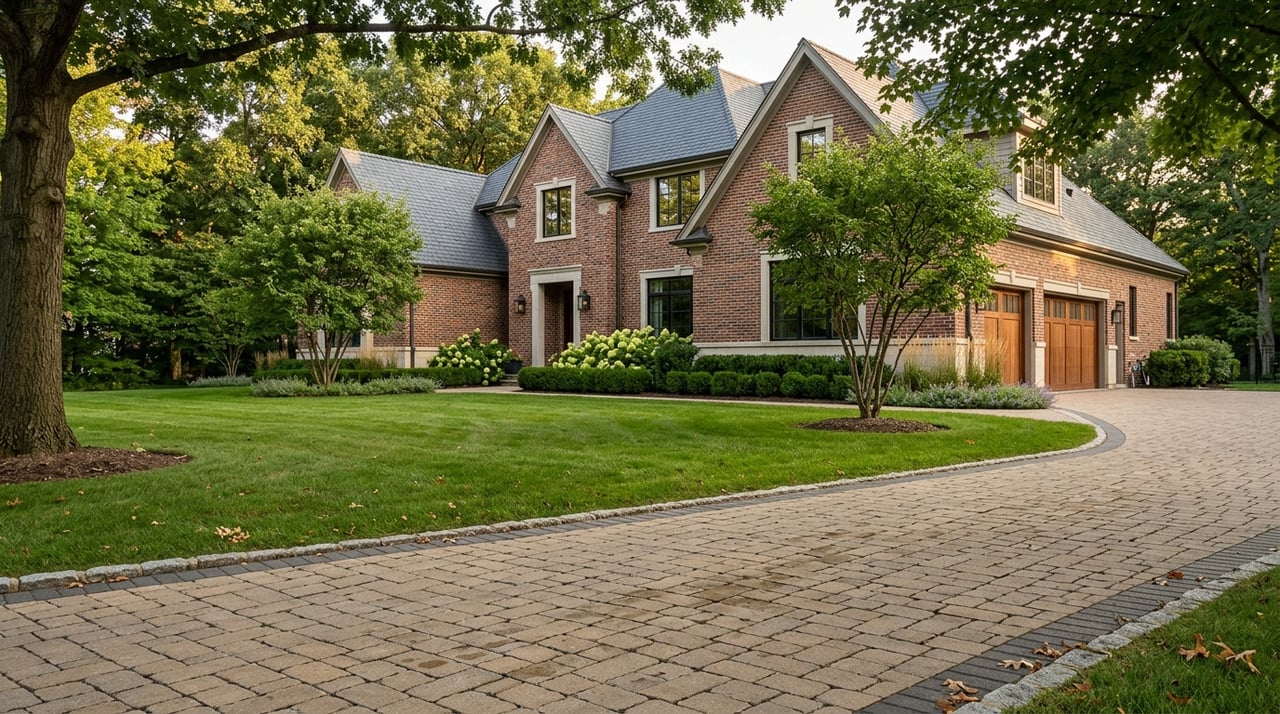
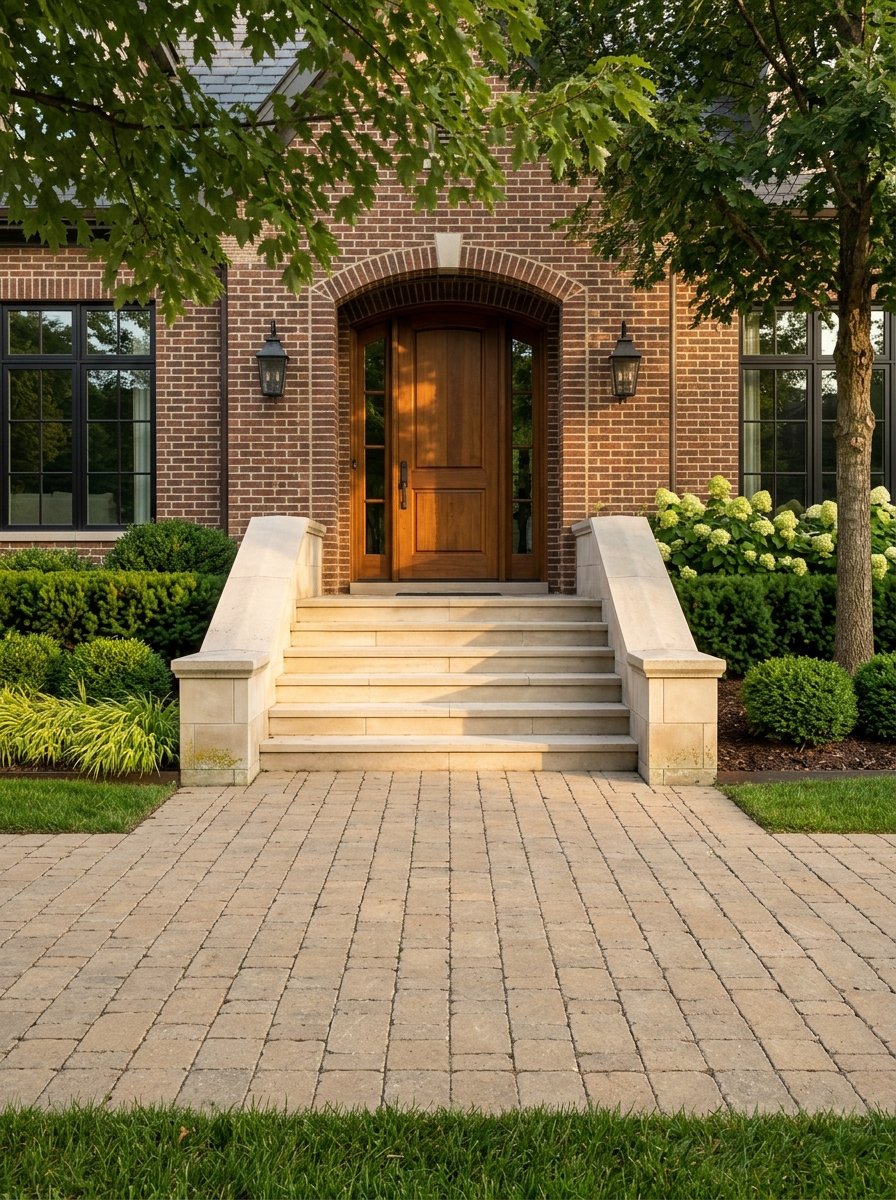
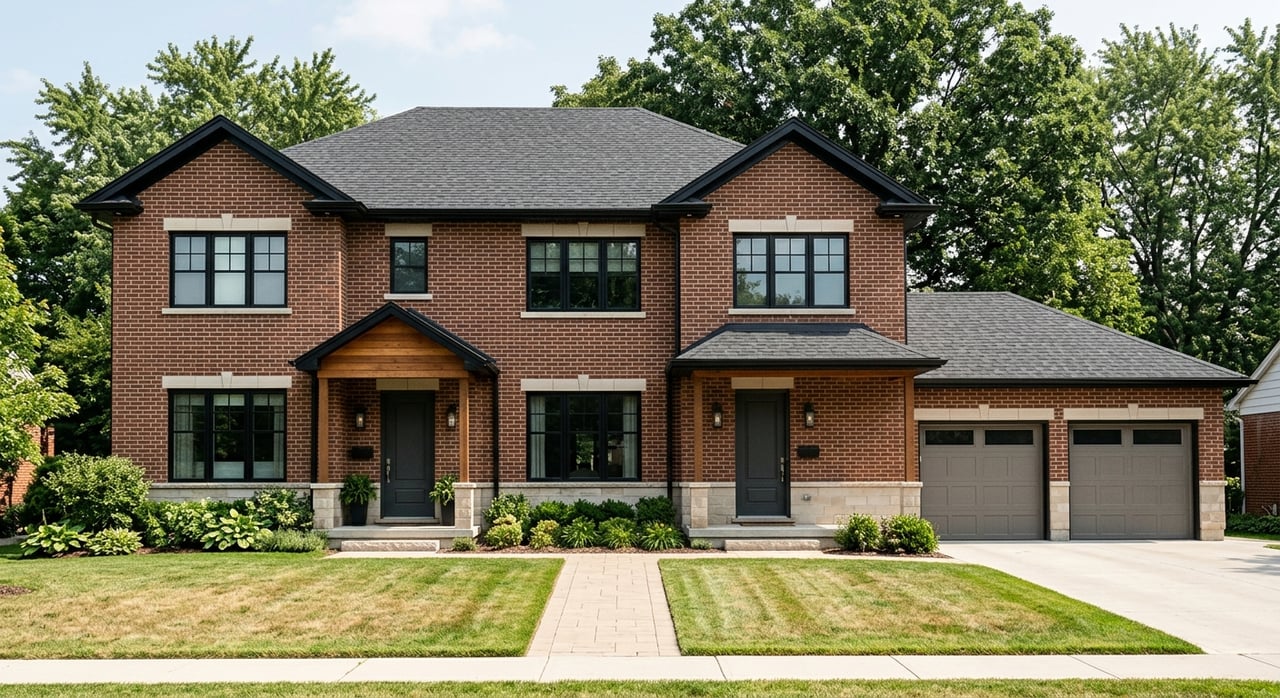
Buyers form opinions the moment they pull up. Tidy beds, trim shrubs, lay fresh mulch, power-wash the walk and driveway, and add a crisp front-door treatment with clean house numbers and a welcoming mat. These simple moves have outsized impact on interest and showing feedback.
If you choose one bigger exterior upgrade, a garage-door or entry-door refresh often ranks among the highest percentage returns nationally. See Cost vs. Value summaries that highlight strong ROI for select exterior projects and use them to guide your priorities.
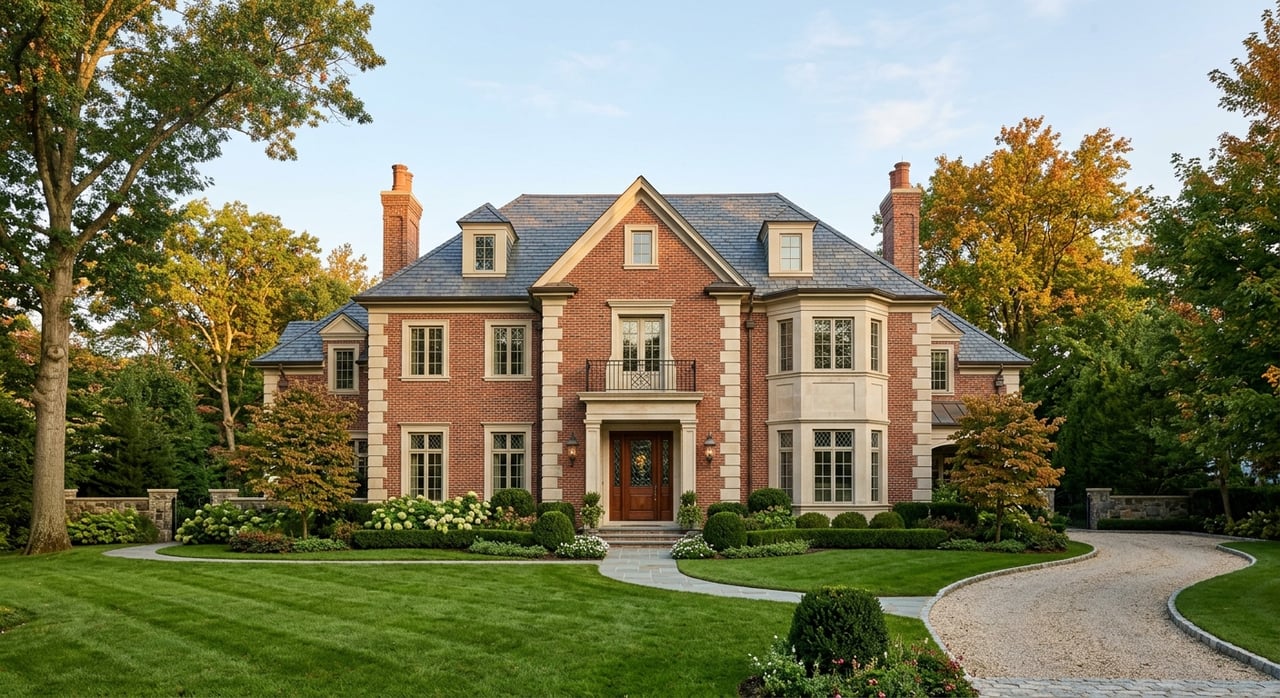
Seasonally, plan exterior photos when landscaping looks its best. In winter, handle snow removal before photos and showings, and add warm interior accents so rooms feel inviting.
Staging helps buyers picture themselves living in your home. National research shows many buyer agents report that staging improves how clients visualize a property, and some see modest increases in offered price. If you are prioritizing, focus on the living room, kitchen, primary bedroom, and main bath.
Set a realistic budget. A consultation or partial staging can run from several hundred dollars to a few thousand, depending on scope. Vacant homes with full furniture rental cost more, so use staging selectively for the rooms that matter most. For a useful overview of typical staging fees and outcomes, see this staging statistics summary.
Your photos are your first showing. Research shows most buyers start online, and professional listing media drive more views and stronger engagement. For Cedarburg, ask your photographer to capture interior, exterior, and a few contextual shots that show proximity to Washington Avenue, the creek and mill area, or the Interurban Trail when relevant.
Add helpful media for remote and out-of-area buyers. A 3D tour and a simple floorplan increase confidence and save time for everyone. NAR’s field guides highlight rising adoption of online tools including virtual tours.
Budget for photography. Local pricing varies by home size, but professional photo packages often fall in the $150 to $500 range, with drone or twilight sessions adding cost. A small media investment typically pays back in stronger listing performance.
Consider a pre-listing inspection for roofs, structure, mechanicals, and moisture. You can repair items before launch, price with issues in mind, or disclose conditions up front to reduce renegotiation risk. If you do not repair, be clear and consistent in your written disclosures.
Know your Wisconsin disclosure obligations. Most sellers of 1 to 4 unit residential property must provide a Real Estate Condition Report under Wisconsin Statute 709.03. The form defines what a defect is and must be delivered within 10 days after contract acceptance. Talk with your agent or an attorney about timing and any unusual questions so you stay compliant.
If your property is within a designated historic area, confirm whether exterior repairs or replacements will require review or a Certificate of Appropriateness. The Wisconsin Historical Society explains how local preservation review works and what to expect.
Plan your launch around buyer activity and your home’s strengths. Many sellers aim for mid-week listing dates to capture weekend traffic. If exterior appeal is a major asset, target late spring through early fall for photography and launch if your timeline allows. For general timing considerations and planning context, review this overview on choosing a listing window.
Cost references to help you budget:
For deeper dives on typical costs and returns, see summaries on professional real estate photography, staging outcomes, and high-ROI refresh projects.
You do not need a full remodel to make a strong first impression. With the right sequence of updates, thoughtful staging, and polished media, your Cedarburg home can rise to the top of buyers’ lists. If you want a tailored prep plan, vendor referrals, and digital-first marketing that meets North Shore expectations, connect with Brynn Woll. Schedule a Call or Get Your Instant Home Valuation.
Stay up to date on the latest real estate trends.

Brynn is committed to providing personalized and comprehensive real estate services, ensuring a seamless and successful experience for every client.
BRYNN WOLL
W63N706 WASHINGTON AVE CEDARBURG WI 53012